WOODEN FLOOR RESTORATION
Lots of you are loving following along with our breakfast room DIY endeavours. If you are on Instagram, and more precisely Instagram Stories, then you will have seen the wooden floor restoration taking place as it happened. The floor has been finished for about a month now and we are totally in love with it.
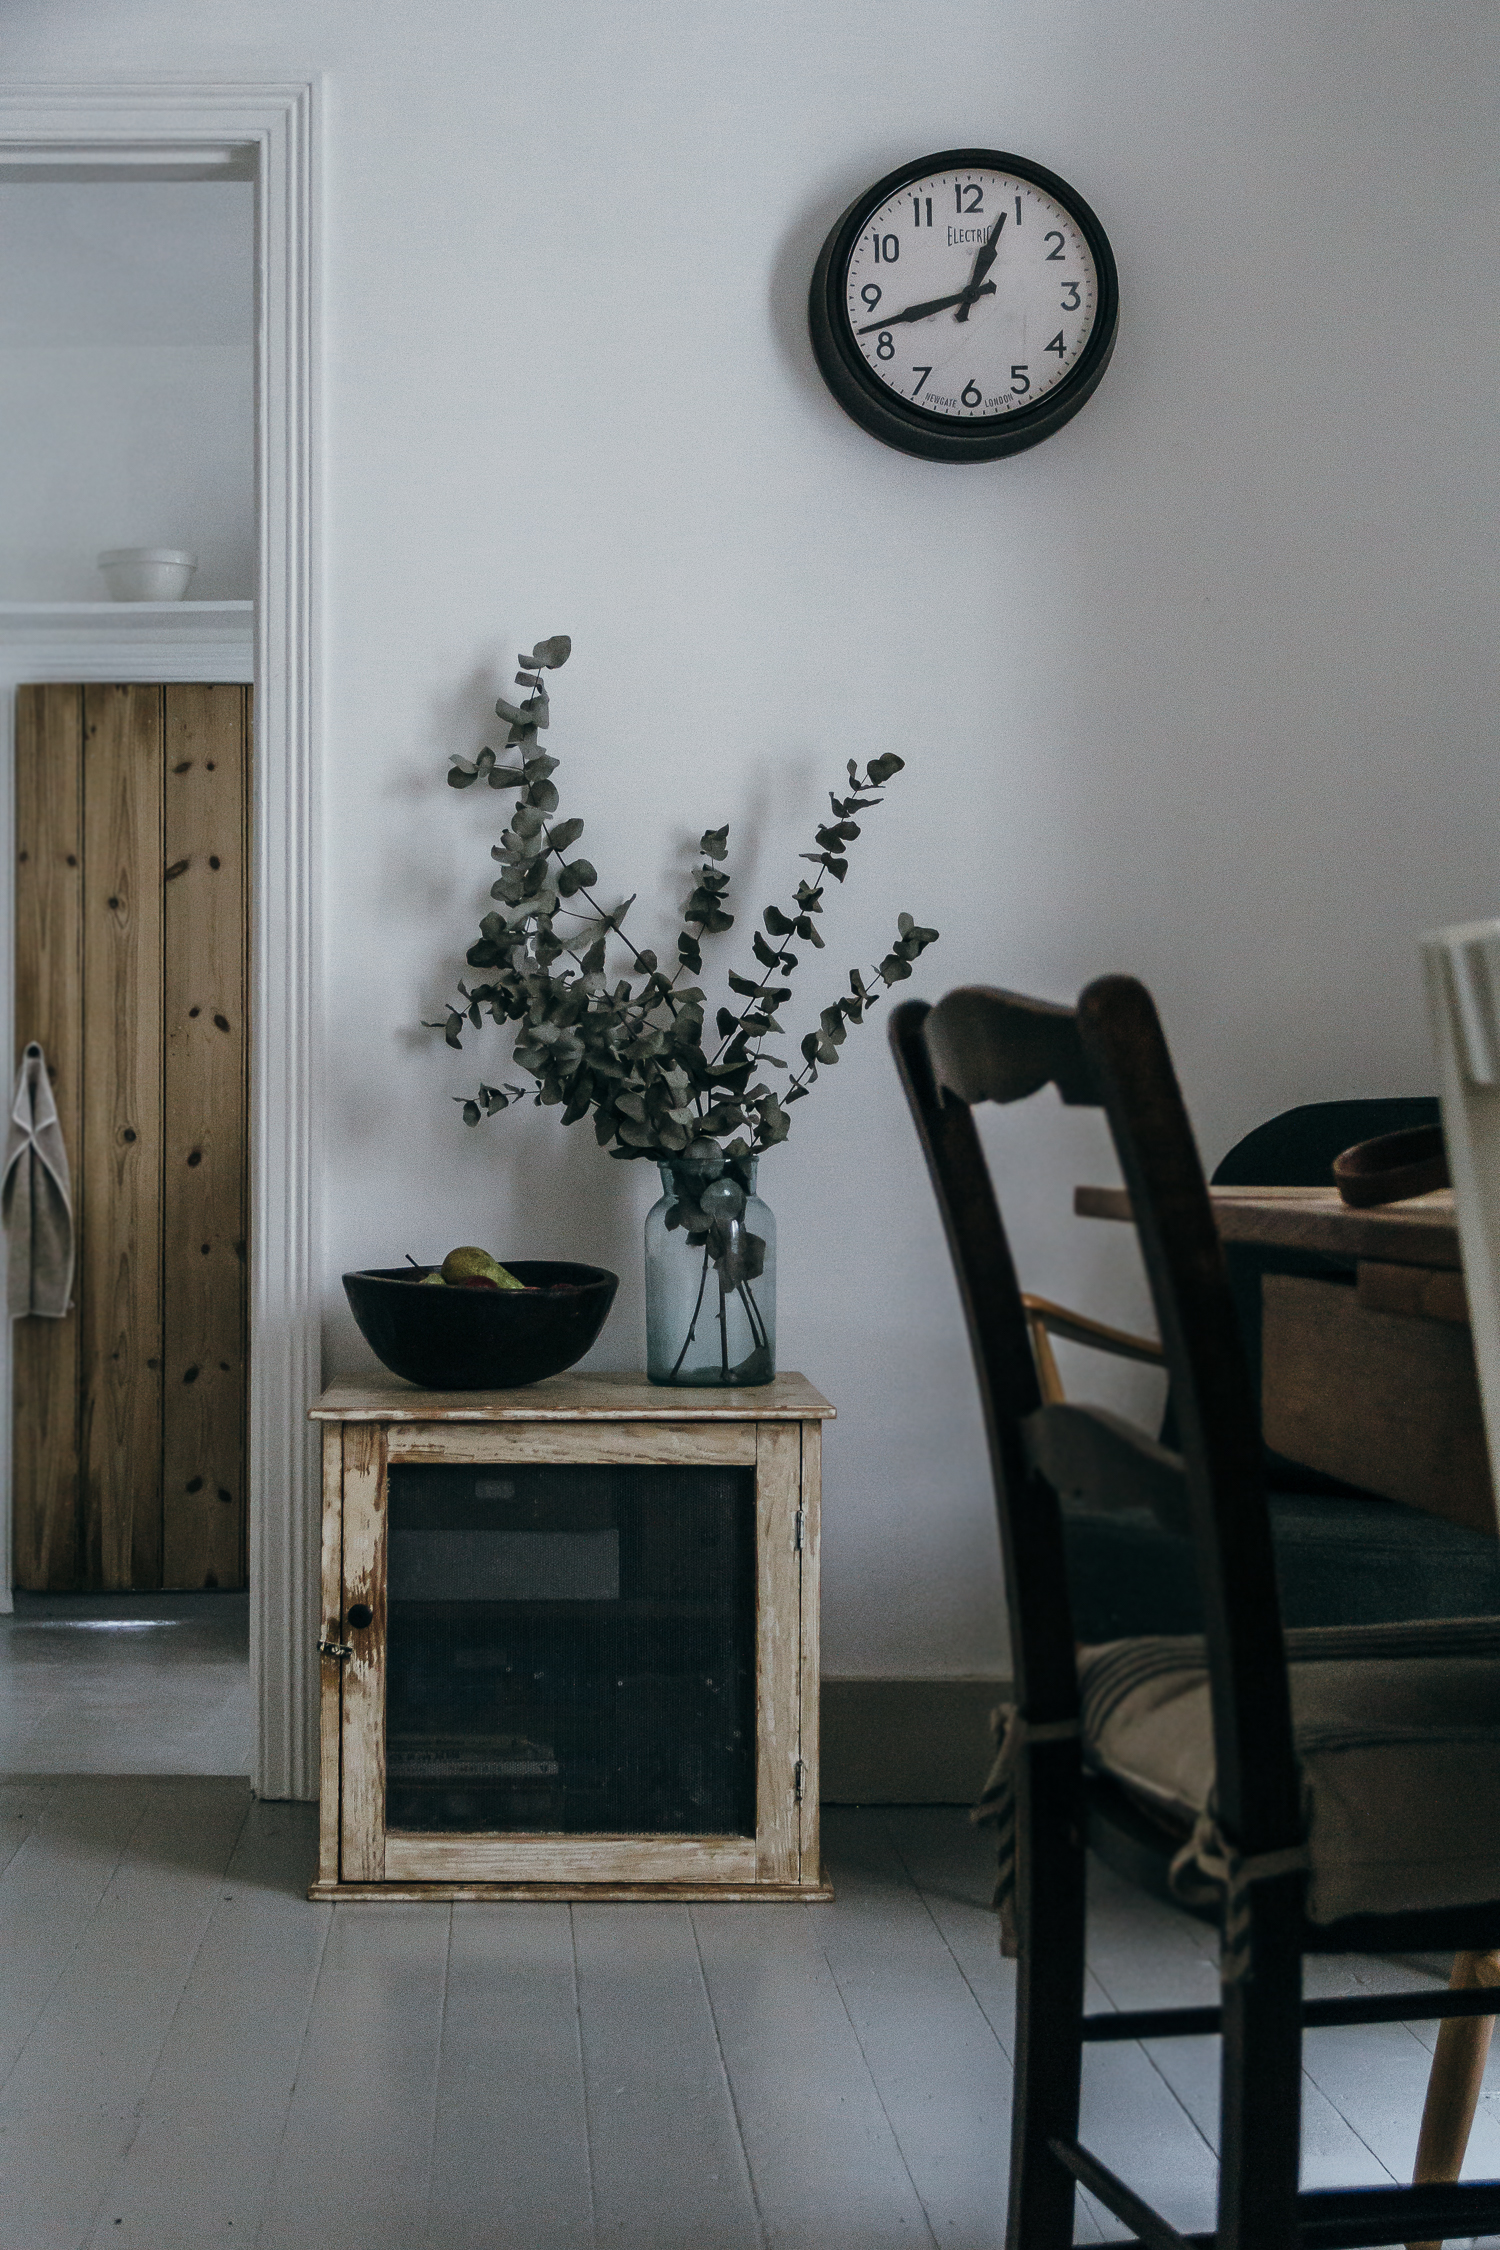
It took a lot of sweat and a few tears, but it has made such a big difference to the space. The room is so much lighter and because the colour is the same as the kitchen floor it links the two rooms beautifully.
A whole bunch of you got in touch to ask if I would share the process and what products we used. Also, filling the gaps between our boards became a hot topic and many of you messaged me with suggestions of things you have tried in the past, in order to make your homes less draughty. I know a few of you wanted to see that list too, so I will share that at the bottom of this post. This is not a sponsored post, just me telling you what I have tried and how I got on.
Our breakfast room adjoins onto our kitchen and we just finished updating the kitchen last spring. You can catch up with that renovation here if you are new to the blog. The breakfast room is where we eat all of our family meals as we do not have a more formal dining room in the house. We spend a great deal of time around the table in this room and it’s one of my favourite places in the house. The idea that the kitchen is the heart of the home is something I wholeheartedly agree with. It’s definitely a hub of activity in our house, it’s a big table so there is plenty of space to spread out and get busy, messy and creative. It’s where we all come together to eat and relax at the end of the day.
As with all projects in this house nothing seems to happen quickly. I painted the walls, ceiling and some of the woodwork about six months ago now, but the floor stayed unfinished. Optimistic Melanie was really hoping to have painted it before Christmas but of course with all the others things happening there simply wasn’t the time.
Even with the floor finished the room is still not complete. There is a fitted cupboard that I am currently painting and a few other bits to finish too. Also the hunt for the perfect dresser is still underway. Of course, when it is finished I will share it with you all here.
Here is the process I used to restore and paint our old wooden floor.
Wooden floor restoration…
Clear the old flooring – In this room we had to pull up a carpet (and the 70s Lino that was hiding underneath). The Lino left sticky tape residue on the floor, which then had to be removed. I used a heat gun, and lots of elbow grease and this in itself took a good day and half.
Knock in the nails – Make sure all the loose nails are knocked in and pull up any carpet tacks and staples.
Sand – The whole floor then had a light sand with a small hand mouse sander.
Clear up – Make sure there is no dust left on the floor by sweeping up and vacuuming.
Fill the gaps – Once the floor is dust-free you can fill the gaps. I used Unibond floor sealant – Unibond acrylic sealant for wood floors and surfaces. It comes in a variety of colours and we used the light brown. It was still visible on the boards after it had been applied, which in this instance didn’t matter because it would be painted over.
Apply the preparation product – For the paint I was using, V33 preparation wooden floors and stairs old timber is recommended. This involved me painting on a milky coloured product to unify the colour and finish of the floor, which makes the paint easier to apply. Leave for 24 hours to dry.
Paint the floor – I used V33 renovation wooden floors and stairs colour Moondust – satin. The product tells you to use a roller, but I actually found a good wide floorboard brush was great to get the paint into all the nooks and crannies. The floor took 2 coats.
Just writing it all down and reading it back makes me feel tired, so if you’re still with me… well done.
Wooden floor gap filler recommendations…
Cork strips- good for wide gaps
Sawdust from sanding the floors mixed with glue, then paste into gaps – lots of you recommend this
Wood slivers and glue mixed with shavings from sanding – again several of you said this worked well
Rope soaked in water – once it dries it swells to fill gaps
Clear silicone
If this inspires you to paint your old wooden floors, good luck, and do let me know how they turn out.

